Think of your website’s database as a big storage room where everything about your website is kept. Now, imagine if a thief knows exactly where the most valuable items are kept because they’re all labeled with the same easy-to-spot tag. That’s what happens when hackers see the default WordPress database prefix, “wp_”. So read on to learn how to Change WordPress Database Prefix for Better Security.
Hackers can sneakily break into this room using sneaky codes, kind of like picking a lock. But, if you change that label to something unique and hard to guess, it’s like giving the storage room a new, secret entrance that only you know about.
When setting up a new website, it’s straightforward to give it this unique tag. But if your website has been around for a while, changing this tag requires a bit more care to ensure everything still works smoothly.
So, in this guide, we’ll walk you through the steps to change that tag and add an extra layer of security to your WordPress site.
How to Change WordPress Database Prefix for better security
Before making any changes we talk about here, it’s a good idea to take a snapshot of the site using tools like “Duplicator”. Here is a complete guide how to take a snapshot or full backup with duplicator.
Also, while you’re making these changes, it’s a good practice to put up a “We’re Making Improvements, Be Right Back!” sign. This way, visitors understand and don’t get confused or frustrated.
How to Change Table Prefix in wp-config.php
- Go to your website’s “root folder” using tools like FTP or the File Manager.
- Find a file named “wp-config.php” – it’s like the master instruction sheet of your website.
- In that file, there’s a line that reads something like “wp_”. Change that to a unique name, for example, “wp_xd1234p_”.
It should look something like this after done:
$table_prefix = 'wp_xd1234p_';
Please not to only use regular letters, numbers, and underscores.
Next, Change All Database Table Names
For this, you need to connect to your database with phpMyAdmin. If you are hosting your site with Cpanel, then you can easily find phpMyAdmin under Databases like the screenshot below.

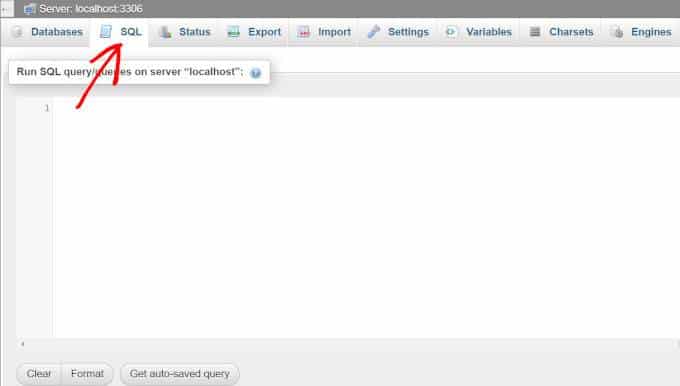
Once inside the PhpMyAdmin, you can click on the SQL tab at the top.
Next, you can enter the following SQL query there:
Please note that you should change the database prefix to the one you picked when editing the wp-config.php file. This is very important, otherwise website will break.
If you’ve installed other tools or features (plugins) on your WordPress site that have their own specific tables in the site’s database, then you’ll need to adjust their labels too. Essentially, you’re ensuring that all the table prefixes in your wp database have the same new label i.e. wp_xd1234p_users
The Options Table
Next, we have to check the options table in the database to find any spots still using the old “wp_” prefix. To make this quicker, you can use this specific SQL query:
However, this will show a list of many items, and you’ll need to review and update each one to match the new prefix.
UserMeta Table
Next, we need to search usermeta for all fields that are using wp_ as a prefix, so we can replace them too.
You can use this specific SQL query for that:
This will show a list of items depending on the number of plugins you use, you’ll then need to review and update each one with old wp_ to match the new prefix wp_xd1234p_
Now, it’s time to check if everything on your site is running smoothly. If you’ve done everything as mentioned earlier, things should be in order.
For added safety, we suggest creating another backup of your database.
Last modified: January 9, 2024